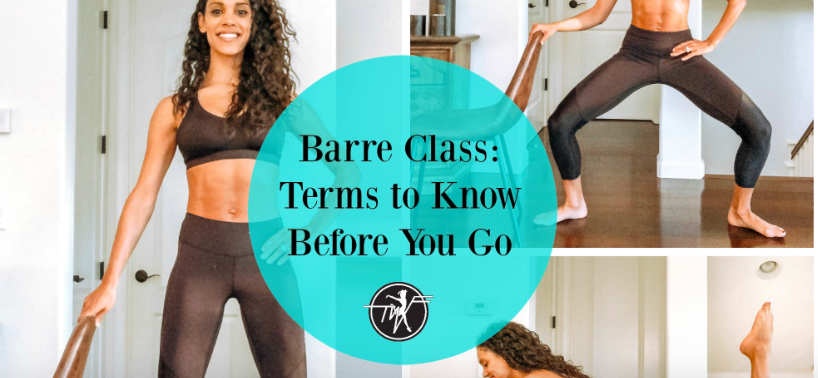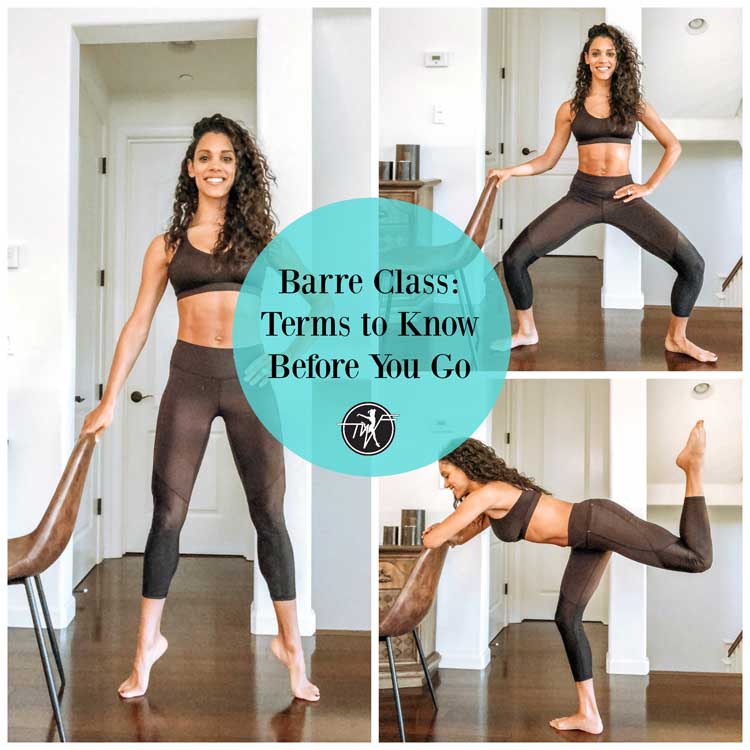
My last post was all about the different types of Barre classes and today’s blog is all about how to be prepared. Most studios will have all the equipment you need, which may include: A yoga mat, weights, resistance bands, pilates balls or rings and THE BARRE. These are also things I keep on hand at home for a quickie barre-burn. Classes will run anywhere from 45 minutes to and 1 hour and 15 minutes and are fueled by high-energy beats. Yes! The class has a ballet barre, but Barre is not a dance class. If you read my last post, it should help you decide which studio is right for you and/or the benefits of barre!
Be prepared with water, barre socks if the studio requires and basic knowledge of terminology to maximize your workout!
First Position: A posture in which toes are pointed outward with heels touching. First position can be performed with heels on or off the ground.
Pro Tip: Squeeze the heels together as hard as you can for an added hamstring and glute burn.
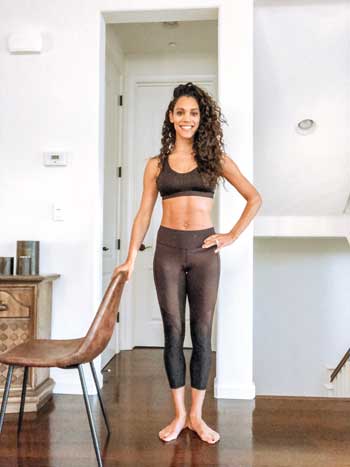
Second Position: A posture in which the feet form a straight line, being turned out to either side with the heels separated by the distance of a small step.
Pro Tip: Everyone has different turn out based on their individual anatomy. Bend at the knees in second position to ensure that your knees are tracking over your toes. This will minimize knee pain and ensure proper form.
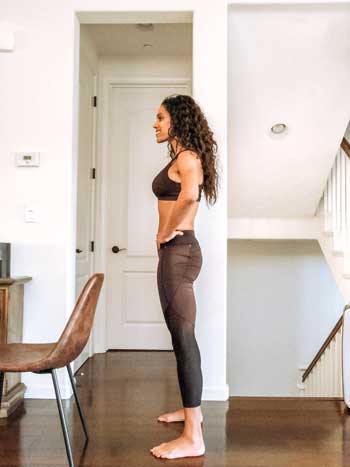
Parallel: In parallel foot positions, the feet may be side by side, apart at the distance of the center of the hip sockets, or in a wide position with feet pointing forward.
Pro Tip: While in a parallel position, it is easy for your hips to sway backward. Practice moving your hips forward and back with your hands on your hips to find your “neutral or straight spine”.
Turn Out: In ballet, turnout (also turn-out) is the rotation of the leg at the hips which causes the feet (and knees) to turn outward, away from the front of the body. This rotation allows for greater extension of the leg, especially when raising it to the side and rear.
Pro Tip: Never force your feet to turn out further than your knees or hips. A comfortable second position is one where your knees track over your big toes when bent at the knees as stated above.
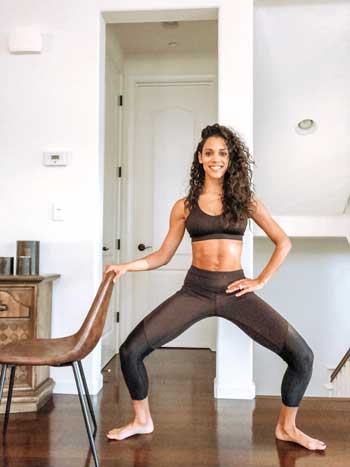
Plié: A movement in which a dancer bends the knees and straightens them again, usually with the feet turned out and heels firmly on the ground.
Pro Tip: Warming up with a plié series can help prepare your body for class. Try 1-2 minutes of pliés in first and then second position. You can plie with your heels on or off the ground.
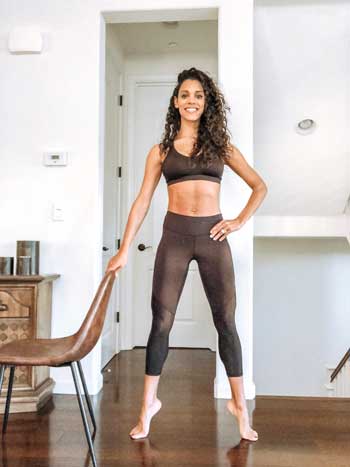
Relivé: A posture in which heels are lifted off of the ground.
Pro Tip: When heels are lifted off of the ground, try your best to keep your belly button pulled back to your spine, glutes engaged and toes separated with your weight evenly distributed.
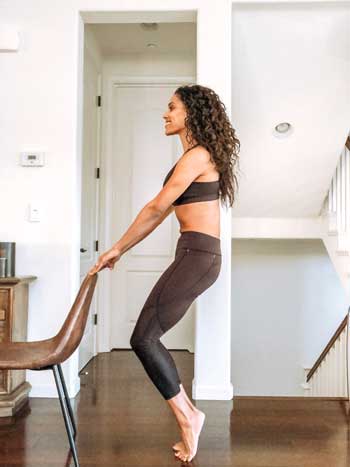
Tuck: A posture in which you tuck the pelvis and create a “C” with the torso.
Pro Tip: Exhale as you tuck your pelvis and lift in your pelvic floor. Pelvic tucks are great postnatal exercises that can be performed standing, in a seated position (shown here) or in a bridge on the floor.
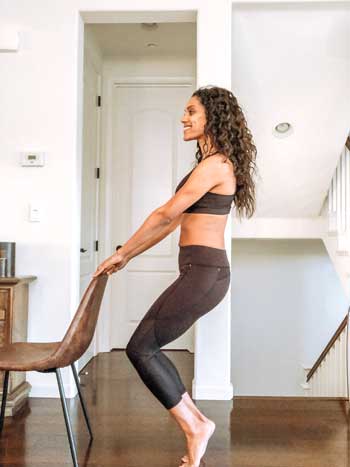
Neutral Spine: Neutral spine is the natural position of the spine when all 3 curves of the spine—cervical (neck), thoracic (middle) and lumbar (lower)—are present and in good alignment. This is the strongest position for the spine when we are standing or sitting, and the one that we are made to move from.
Pro Tip: Engage your core to hold your spine neutral while moving from position to position.

Flex: A flexed foot is one where the heel is actively pushing away from the body as the top of the foot pulls up and into the body.
Pro Tip: A flexed foot really changed the dynamic and intensity of an exercise. Make sure to pay attention to the teachers cues and make sure to flex when he or she tells you to! It makes a big difference.
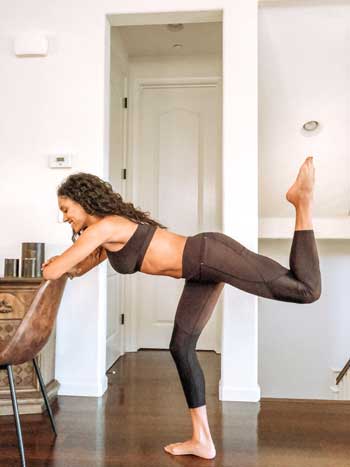
Point: A pointed foot is an action where the heel is pulled towards the body while the toes push away with energy.
Pro Tip: Picture shooting lightning out of your big toe when pointing your foot. This gives you extra energy in postures and helps to lengthen and slim the leg.
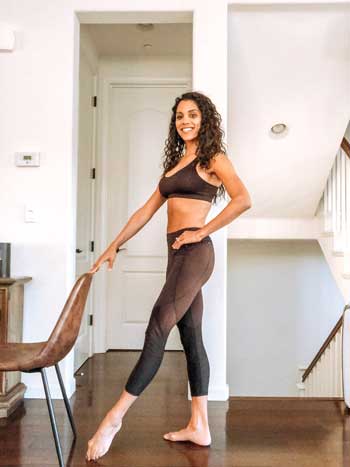
Isometric Hold: Holding a posture for an extended period of time without movement.
Pro Tip: When performing an isometric hold (usually after a pulsing series) take deep belly breaths to push past the discomfort.
Pulse: A pulse is when you lift and lower an inch to maximize work in a specific posture. This can be only one leg, full body or your core.
Pro Tip: Place your focus on the muscle you are intended to work. When the going gets tough it can be easy to compensate and put added pressure on other areas of your body.

